Wow, it's good to be back! I explained a little in my last post about why I've been away for so long but it seems I am back now (and hope to stay back)! Yay! I have missed crafting so much. Last night my husband came home and saw me working away in my craft room and commented on the fact that I was actually crafting. He was happy to see me feeling much better and able to do what I love to do.
So this past Tuesday was my DT day for
Trendy Twine but unfortunately due to unforeseen circumstances, I was unable to work on a project. I felt HORRIBLE but the awesome owner and DT were very accomodating toward my situation and I was given a free pass. Well, I thank them for that but I felt bad about it so I made up my day!
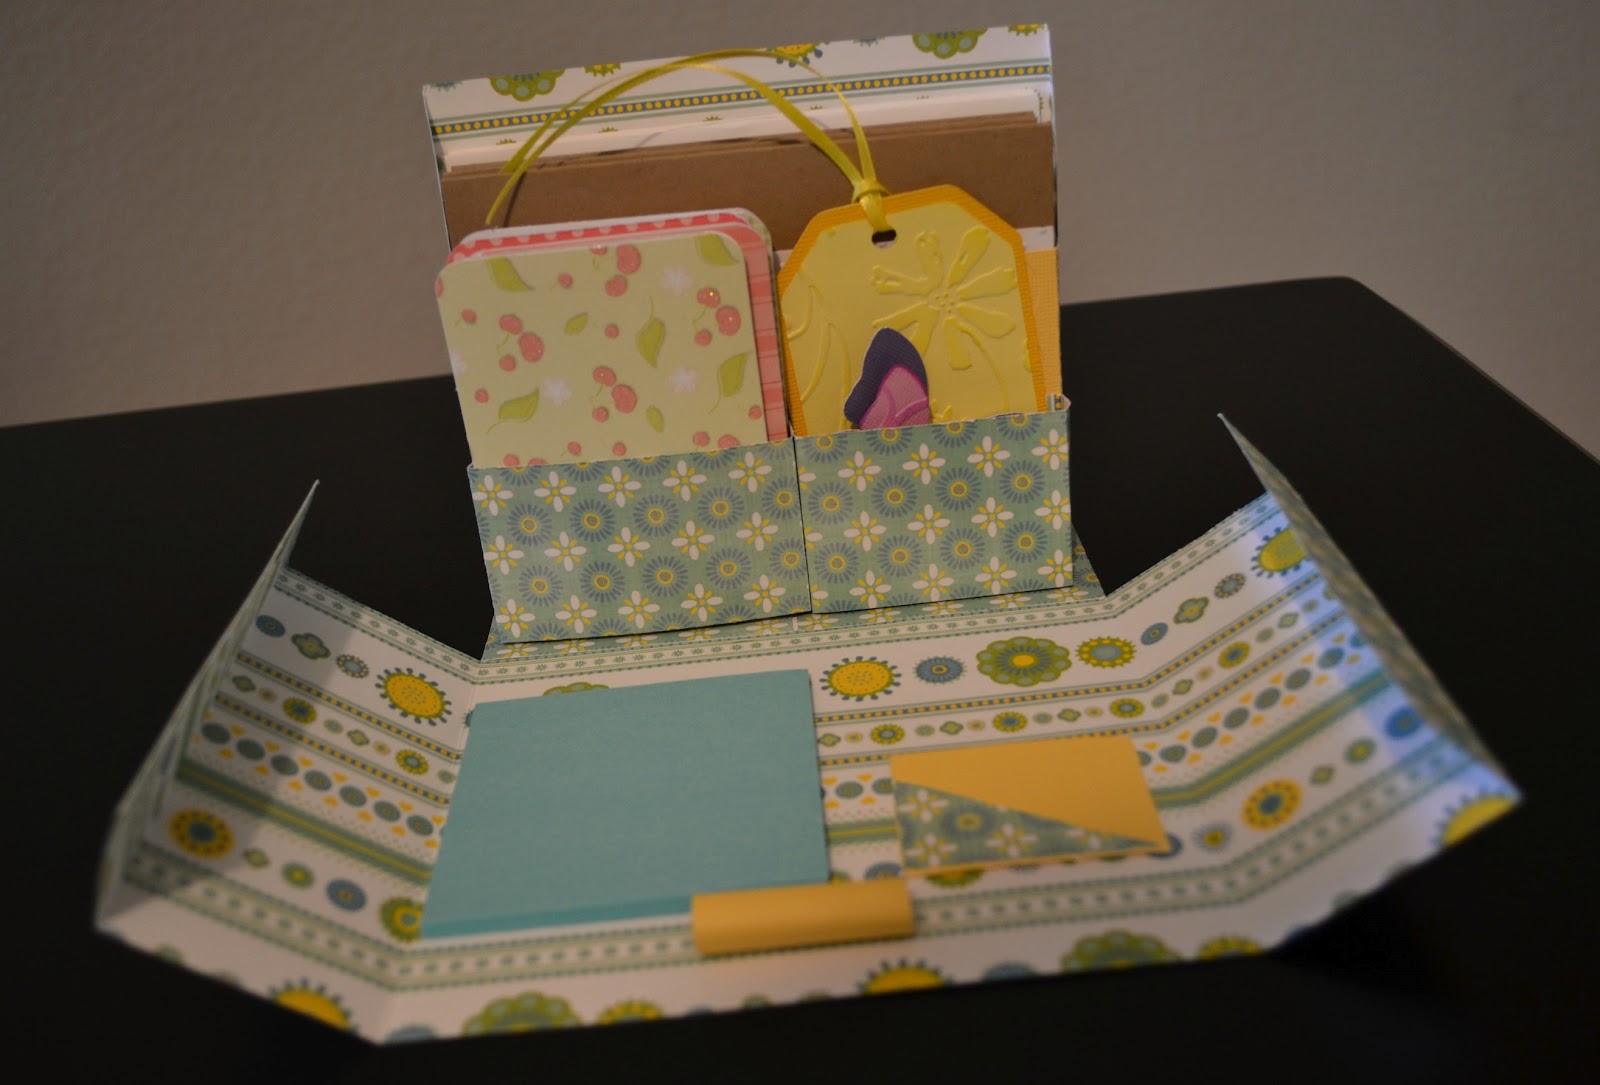
I have actually been working on this layout for almost two months now. Yea, crazy right? Well, since I haven't been feeling well it just kind of sat on my craft table for most of that time collecting dust and waiting for me to finish it. Finally last night I was able to.
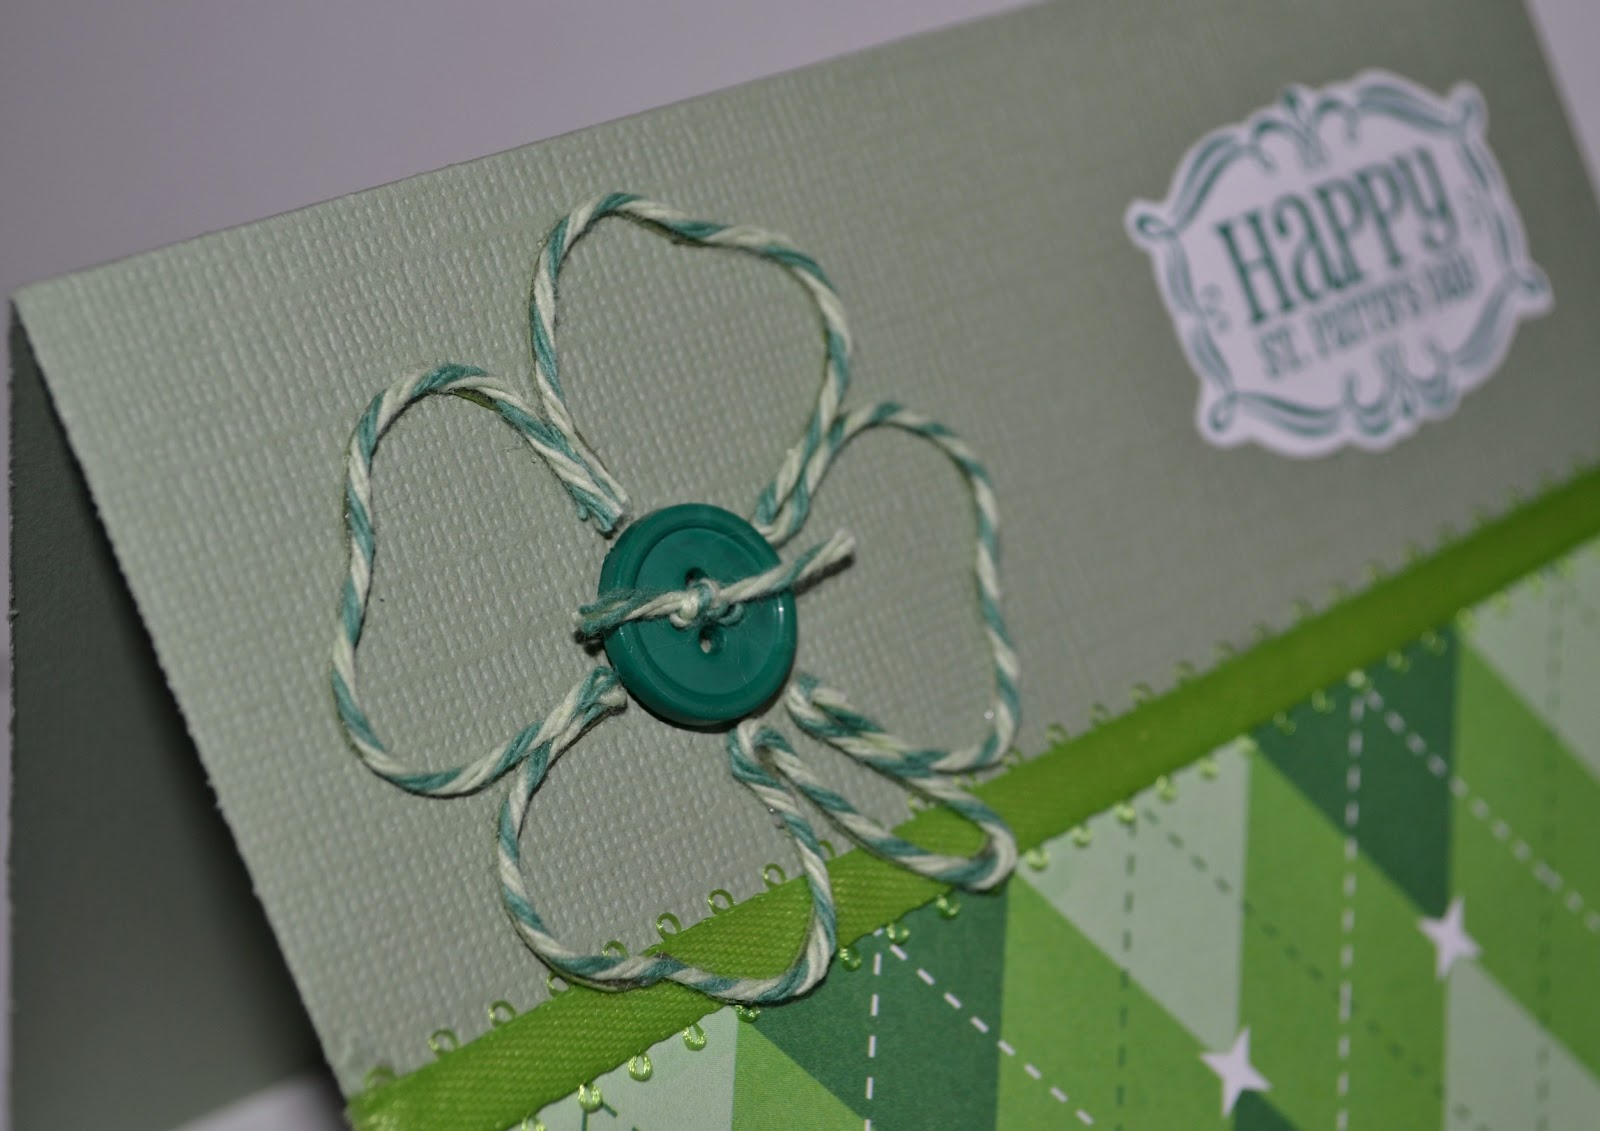
I used Trendy Twine's
Valentine's Cherry Cupcake twine to "hang" the little banner. I also used the same twine in the center of the flower. I felt the flower was naked so I decided to dress it up by adding some twirled Cherry Cupcake twine. As you can see, this is not a Valentine's project so just keep in mind that the Cherry Cupcake twine can be used for ANY occasion.
I used Unity Stamp's Time for Travel stamps and Epiphany Crafts Shape Studio tools to make the epoxy embellishments on the banner. I also used the Unity Stamps itty bitty collection of Echo Park Banners stamps for the three sentiment banners.
Ooh, I am entering this layout in DCWV's Stack-a-holic Template Challenge. Wish me luck...I saw some serious competition on their FB page!!! The layout template is from Sketch Savvy.
Before I let you go I wanted to let you know that
Trendy Twine has two new colors available now! You can get them in spools and also in a mini pack.
Stay tuned....Trendy Twine has more colors debuting this year!


